Performing Nectus DB migration to a new server  with “DB Migration” tool


DB Migration tool is only available to users with Super Admin rights.

Prepare new server with clean Nectus installation with the same Nectus version as on old server.

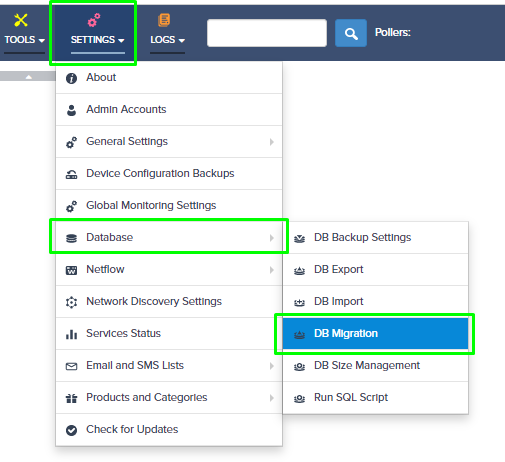
Step 1: Login to the old Nectus server and go to Settings -> Database -> DB Migration.


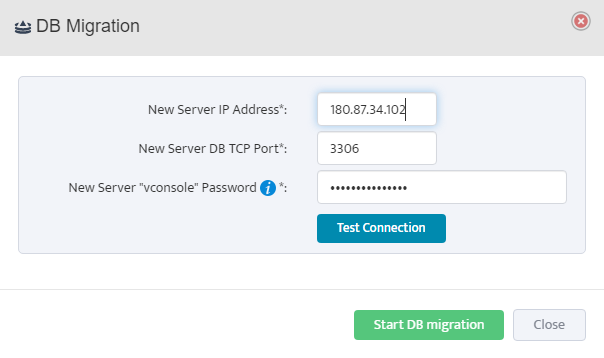
Step 2: In the DB Migration window specify IP address of the new server and password for “vconsole” DB account from the new server.

Note: Password for “vconsole” account can be found in the

C:\Program Files\Nectus\Web\Apache24\htdocs\protected\config\database.ini” file on the new server.
 

Graphical user interface, text, application, chat or text message

Description automatically generated


Step 3: Click on the Test Connection. It will perform the credentials and Nectus version checks.
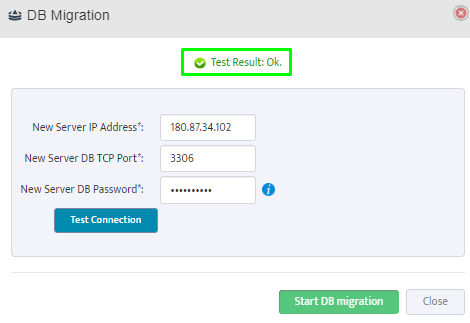
 

Step 4: Start migration by clicking on “Start DB migration”.
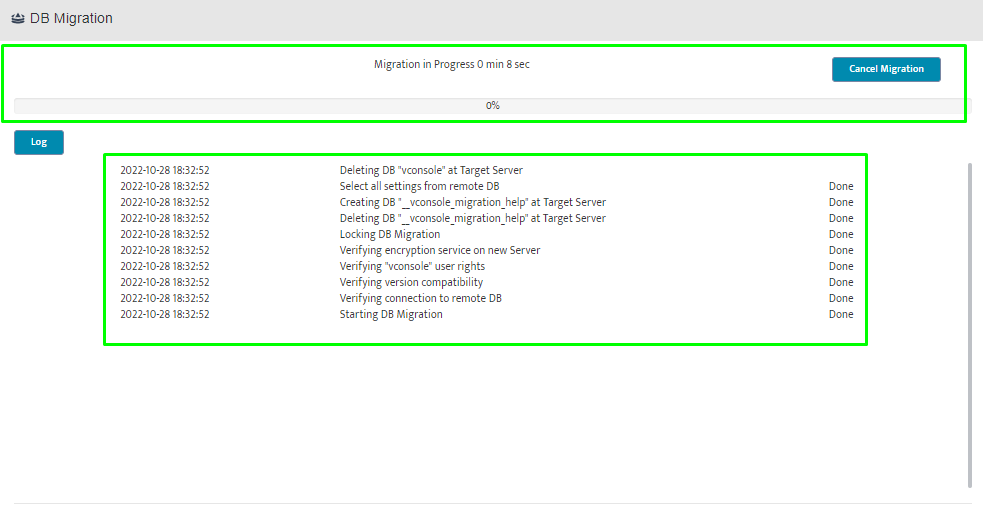
 

Depending on the database size migration may take several hours.


Generating Alerts Based on SNMP Traps

Step 1: Login to the Nectus portal, go to the Logs -> SNMP Traps.


Graphical user interface, application Description automatically generated


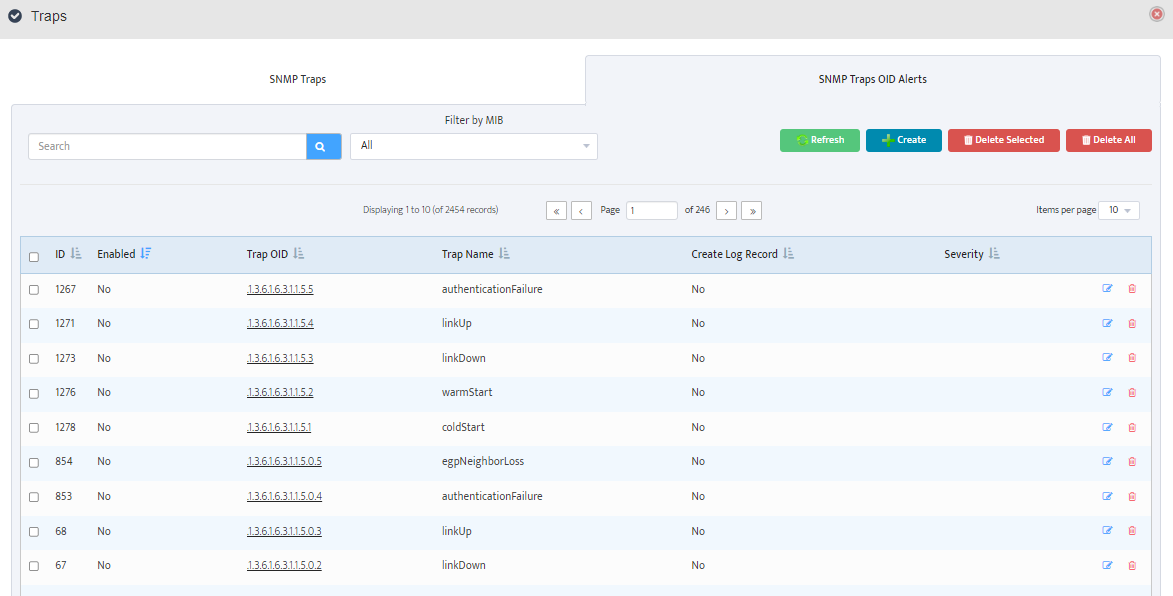
Step 2: You will see two Tabs “SNMP Traps” and “SNMP Trap OID Alerts”.

“SNMP Traps” Tab contain list of all the SNMP Traps received by Nectus server from all the network devices.

“SNMP Trap OID Alerts” Tab contains list of pre-configured (default) alert rules for different SNMP traps.


You can search if specific SNMP Trap OID already have an alert rule defined and enable it.


Graphical user interface, text, application Description automatically generated


If alert rule already exists, you just need to activate it  by clicking on “Enable” button inside the rule.


Graphical user interface, text, application Description automatically generated


Step 3: If there is no rule exists, click on “Create” button to create a new alert rule.


Graphical user interface, text, application Description automatically generated


Complete all the required alert rule parameters.


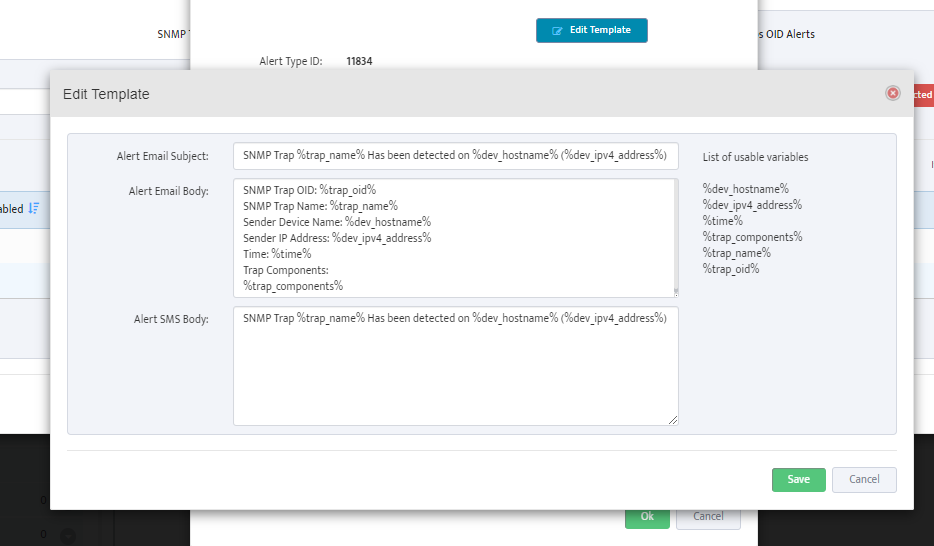
Step 4: Click on “Edit Template” to review and adjust the Alert template format

Graphical user interface, text, application Description automatically generated


Done.